
How to Create an NCTS Transit Declaration: A Step-by-Step Guide (2026)
- John Hall
- Customs Specialist at iCustoms.ai
The fastest way to get a transit declaration rejected is to start typing before you have assembled the data. Software will let you open a blank IE015 and begin filling fields in whatever order they appear on screen, and that is exactly how a guarantee reference gets entered before anyone has checked it is still valid, or how a goods item ends up with no house consignment above it.
A transit declaration is not filled in top to bottom. It is built in a specific order, and most of the rejections that cost a sailing trace back to that order being ignored rather than to anything genuinely wrong with the shipment.
This guide walks through creating an NCTS transit declaration step by step, what to have ready before you open the software, and where the NCTS transit simplified procedure changes the sequence.
Before You Start: What You Need on the Desk
Gather these before opening a declaration, not while filling one in.
- The EORI authorised to submit transit declarations, matched to the correct user permissions within your organisation’s account.
- The guarantee reference number and access code, checked against the guarantee holder’s EORI.
- Consignor and consignee details for the consignment, and for each house consignment if the load is groupage.
- A six-digit commodity code for every goods item, not a description copied from a commercial invoice.
- The intended itinerary, including the office of destination and any offices of transit the route requires.
- A decision on whether safety and security data will be carried inside this declaration or filed separately.
With that in hand, the declaration itself is a sequence of eight steps. Doing them in this order matters more than doing them quickly, because each step depends on something the previous one confirmed. A guarantee entered before the structure is finished, or a commodity code left for later, is what turns a routine filing into a rejection at the office of departure.
Step 1: Confirm Access and Software Readiness
Log in using the Government Gateway credentials tied to the EORI that will hold the declaration, and confirm the filer is assigned correctly within the organisation’s account. This is a common source of first-week confusion after onboarding a new filer, and it is worth checking before anything else.
Confirm the software being used is built against the current NCTS5 data model, not a template carried over from an earlier phase. If there is any doubt, HMRC’s Transit Test Application lets you exercise a declaration end to end without a live movement or a real driver waiting on it.
Step 2: Build the Consignment and House Consignment Structure
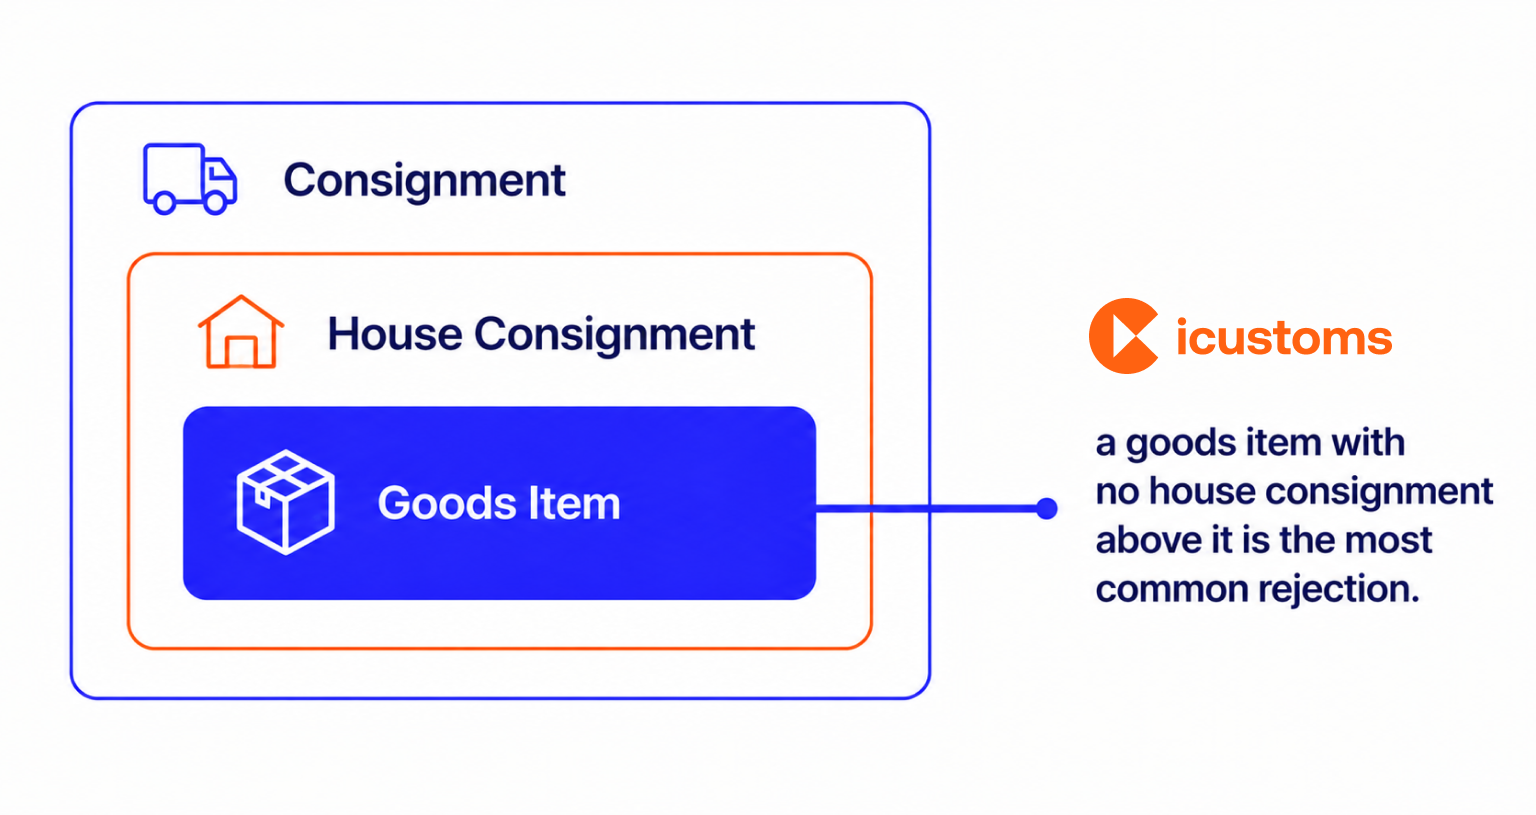
NCTS5 uses three levels: consignment, then one or more house consignments beneath it, then goods items inside each house consignment. For a single-shipper full load, that is one house consignment holding everything. For groupage, each house bill gets its own house consignment, with its own consignor, consignee and goods.
This structure is the single most common point of rejection. Software or templates that flatten everything to the top level produce goods items with no parent, and the declaration fails validation before it reaches anything else.
A quick way to check the structure before moving on: count the commercial invoices or house bills covering the load, and confirm that number matches the house consignments in the declaration. If a groupage load has fourteen consignors, it needs fourteen house consignments, not one house consignment with fourteen consignors listed inside it.
Step 3: Add Goods Items and Commodity Codes
Every goods item needs a six-digit Harmonised System commodity code. General descriptions such as “general cargo” or “consolidated freight” will not validate on their own. If your business already classifies goods for CDS import or export declarations, use the same commodity code discipline here rather than treating transit data as a lesser cousin of it.
Step 4: Enter the Itinerary and Offices
Confirm the office of destination and, where the route requires it, any offices of transit along the way. If the guarantee conditions specify a binding itinerary, the declared route has to match it, so check this before submission rather than after a rejection asks the question for you.
Step 5: Attach the Guarantee
Enter the guarantee reference number and access code, and confirm the EORI on the declaration matches the EORI holding the guarantee. Before submitting, it is worth checking the guarantee’s committed balance rather than assuming cover is available, since a comprehensive guarantee can be exhausted by movements that were never discharged rather than by the current one.
Step 6: Add Safety and Security Data, If Claiming It
Phase 5 allows the safety and security dataset to sit inside the transit declaration itself. The moment that option is selected, the full dataset becomes mandatory: additional party details, transport equipment identifiers, and place of loading and unloading. A partially populated dataset causes more problems than not claiming it in the declaration at all.
Step 7: Submit the IE015 and Respond to the Result
Submitting the declaration sends the IE015. A valid declaration returns the Movement Reference Number. An invalid one returns a functional error message with a rule identifier and a pointer to the offending element, or a refusal message if the office of departure will not release the movement or the guarantee itself is rejected. Read the pointer, not just the identifier. It tells you which field to fix.
Keep a record of which pointer came back and what fixed it. Most filing teams see the same two or three error patterns repeatedly, and a short internal note saves the next person from re-diagnosing a problem you already solved.
Step 8: Receive Release and the Transit Accompanying Document
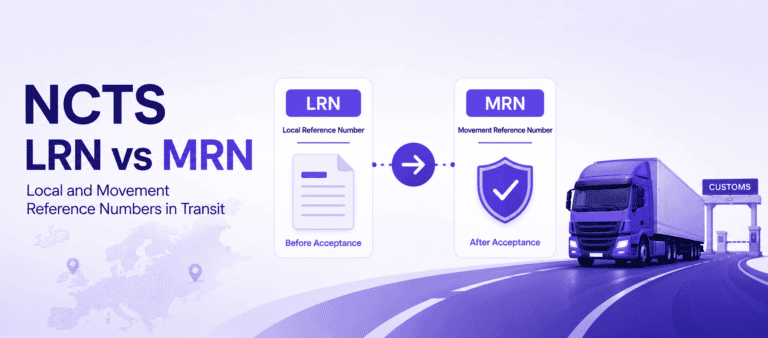
Once the declaration validates and the movement is released, the Transit Accompanying Document is generated, carrying the Movement Reference Number as a barcode. This is the document that travels physically with the goods and is presented at any office along the route that needs to see it. From this point, the movement is under transit control until discharge is confirmed at the office of destination.
Where Filers Lose the Most Time
The eight steps above are not where most of the time goes. In practice, the slowest parts of creating a declaration are re-keying data that already exists somewhere else: copying a commodity code from a commercial invoice by hand, chasing finance for the current guarantee balance, or working out from scratch whether a load is groupage before the house consignment structure can even be started.
None of that is a rule of the NCTS5 data model. It is a consequence of the declaration being built by hand from documents that were never connected to it in the first place.
Using the NCTS Transit Simplified Procedure
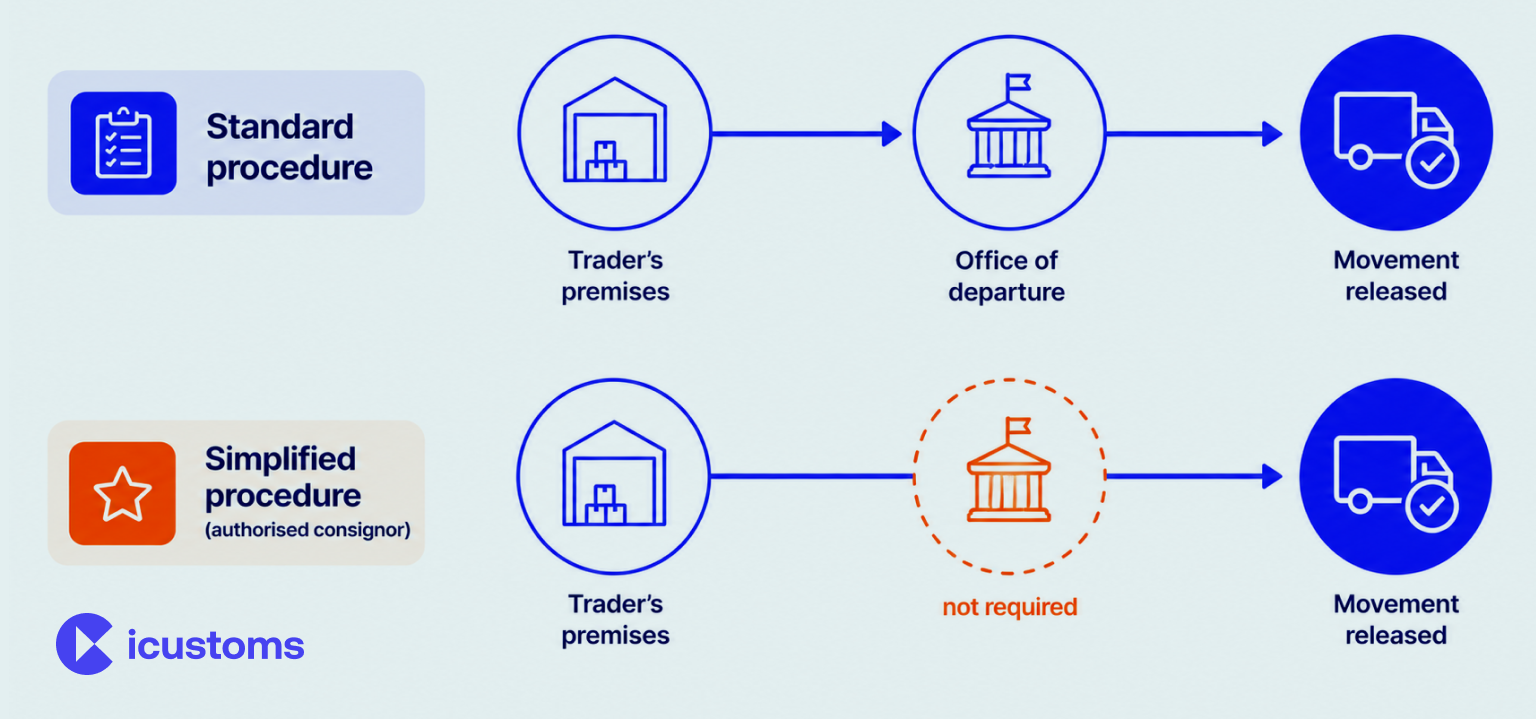
The steps above assume goods are presented at a customs office at departure. The simplified procedure changes that. A business holding authorised consignor status can lodge the declaration and release the movement from its own premises, without a customs officer present, provided the agreed seals and controls are in place. Authorised consignee status does the same at the receiving end.
Authorisation is not automatic and does not come bundled with other accreditations. It has to be applied for separately, and it depends on meeting specific record-keeping conditions, so confirm it covers the offices of departure and destination actually being used before relying on it for a live movement.
What Happens If the Declaration Is Rejected
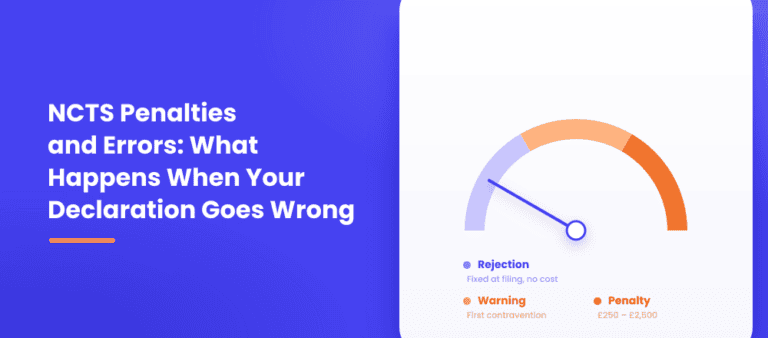
A rejection is not a penalty. It is validation doing its job before a driver is standing at a port with a document that will not scan. Most rejections trace back to the same handful of causes: a missing house consignment level, an incomplete commodity code, a guarantee problem, or an incomplete safety and security dataset once it has been claimed. Fixing the pointed-to field and resubmitting is usually faster than the queue at the port makes it feel.
A Quick Pre-Submission Checklist
- EORI and user permissions confirmed against the account.
- Guarantee reference number, access code and balance checked.
- Consignment and house consignment structure matches the actual shipment, including groupage.
- Every goods item carries a full six-digit commodity code.
- Itinerary and offices match any binding route on the guarantee.
- Safety and security dataset either fully populated or not claimed at all.
Frequently Asked Questions
What information do I need before creating an NCTS transit declaration?
The authorised EORI, a valid guarantee reference number and access code, consignor and consignee details, six-digit commodity codes for every goods item, and the intended itinerary and offices.
How long does it take to get a Movement Reference Number after submitting?
Once a valid IE015 is submitted, the Movement Reference Number is returned as soon as the office of departure's validation completes, which is normally near-instant for a correctly structured declaration.
What is the difference between the office of departure and an office of transit on a declaration?
The office of departure lodges and authorises the movement to begin. An office of transit is a specific office along the route where a crossing between customs territories is recorded, not any customs post the vehicle happens to pass.
Can I submit a transit declaration without a guarantee?
No. Every movement needs financial cover for the duty at risk, either through a comprehensive guarantee or an approved guarantee waiver, and the declaration will be refused without valid cover.
What is the NCTS transit simplified procedure and who can use it?
It allows a business holding authorised consignor or authorised consignee status to start or end a movement at its own premises rather than at a customs office. Authorisation has to be applied for and is not automatic.
What happens if my declaration is rejected?
You receive a functional error message with a rule identifier and a pointer to the field causing the problem. Correct that field and resubmit; a rejection does not affect the guarantee unless the movement was never released.
Do I need to test my software before submitting a live declaration?
It is strongly recommended. HMRC's Transit Test Application lets you submit declarations and receive the full range of message responses in a trader test environment, without a live movement or guarantee.
Can I amend a transit declaration after it has been submitted?
Amendment options are limited once a declaration has validated and the movement has been released, which is why confirming the structure, codes and guarantee before submission matters more than trying to correct them afterwards.
You may also like:

Filling Out Transit Declarations Field by Field, Every Time?

iCustoms auto-populates consignment, commodity code and guarantee data, so your NCTS5 declaration is ready to submit in minutes.
Subscribe to our Newsletter
About iCustoms
iCustoms is an all-in-one solution helping businesses automate customs processes more efficiently. With AI-powered and machine-learning capabilities, iCustoms is designed to streamline your all customs procedures in a few minutes, cut additional costs and save time.
See AI Customs Automation in Action
Turn trade documents into structured data with intelligent automation.